Showing posts with label recipe. Show all posts

Friday, August 8, 2014

The Best Darn Cobbler You Will Ever Eat

Okay, perhaps that is an exaggeration. Or perhaps "the best" is just determined by personal taste. Either way, this is a really great cobbler.

Doesn't that look amazing?
Now, I can't claim this recipe as my own. I'm not sure who deserves the credit, either. My mom found the recipe but did not write down the source. Whoever came up with has something better than the credit, though. They have cobbler.

Cobbler is one of my all time favorite desserts. In fact, it is in my top five: Cheesecake, Fruit Pies (especially peach and apple), fried fruit pies (especially peach or apricot), fruit cobbler, and ice cream (not necessarily in that order). As you can see, I love desserts that highlight fruits. Therefore, pies and cobblers dominate my favorite sweets. (I also love all things dairy, so of course cheesecake and ice cream make the list!)

We have made this cobbler several times now. The first time we actually devoured the entire pan in a single day. We also tried a couple of different sized pans. Using a 13 x 9 pan results in a thinner crust that has more crispness around the edges. Using a smaller pan, such as a 9 x 9, gives a thicker crust with more of a cakey texture. Experiment with pans and find your favorite. We personally prefer the 13 x 9. 

My favorite thing about this recipe is how buttery it is. Fruity + buttery + the texture contrasts of the crispy edges, softer centers, and delicate fruit make this recipe a winner.  It's also versatile, as are most cobbler recipes. Make it with whatever fruit you want and adjust the seasonings to compliment the fruit. Peach goes wonderfully with the addition of cinnamon. 

Also, while it's definitely a treat food, it's not that unhealthy either. When made with real-food ingredients like raw pastured dairy and fresh fruit it's a much better choice than many desserts. Be sure to use organic natural sugar, or at least pure cane sugar. I'm not sure that the sugar could be substituted for honey or another natural sweetener, because it is used to draw moisture out of the fruit as well as sweeten. I may have to experiment with that.

Anyway, without further ado, here is the perfect recipe to use up your over abundance of spring and summer fruits:

Fruit Cobbler

2.5 cups fresh fruit, such as blackberries
1 cup sugar 
1 cup flour 
2 tsp baking powder
1/2 tsp sea salt 
1 cup milk 
1 stick butter, melted 

Add sugar to berries and let sit for 25-30 minutes. Preheat oven to 375.

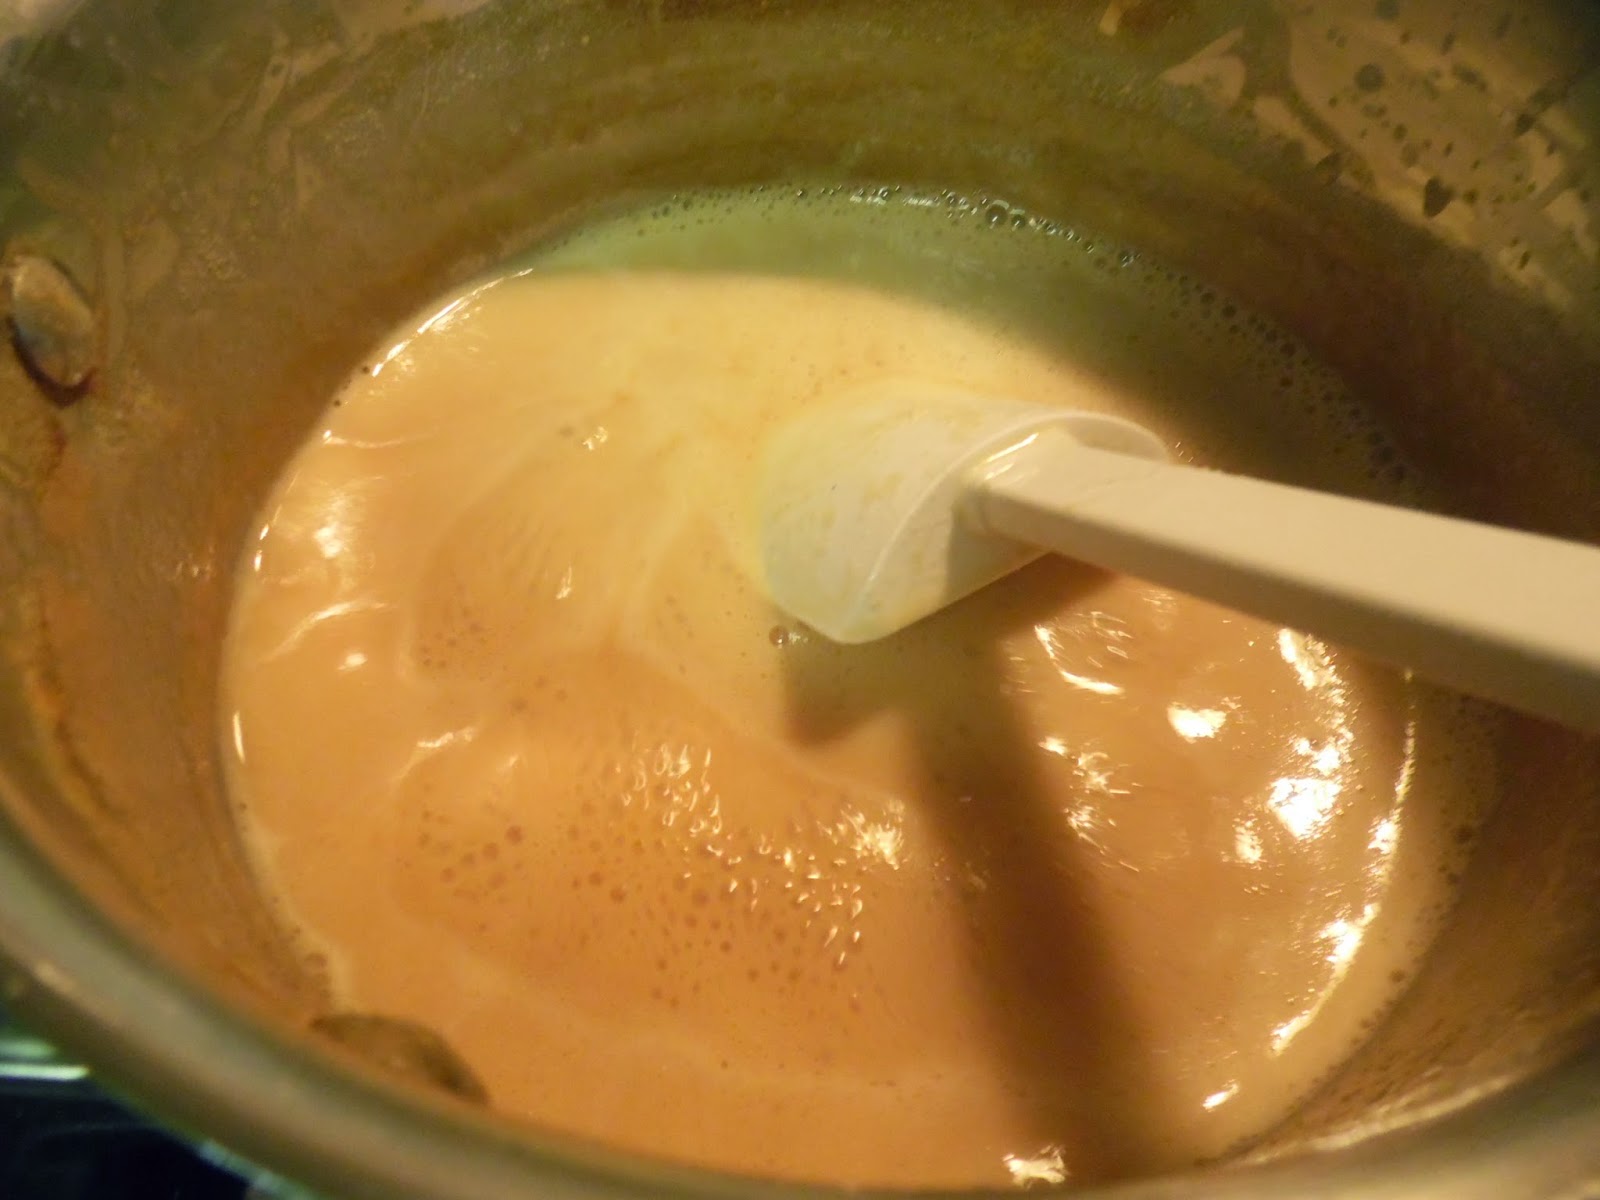
Stir together flour, baking powder, salt, and milk with a wooden spoon. Stir in the melted butter and hand mix until well incorporated and there are few clumps left. Pour into a baking dish (9 x 13 for thinner crust, smaller for thicker). Add fruit mixture evenly over batter. Bake for 45 minutes or slightly less in a 13 x 9 pan. 

Let sit for 15 minutes (if you can!) and serve warm with fresh homemade ice cream.

Enjoy!

P.S. I secretly want to try this with apples when they're ripe this fall. I'm thinking apples will require a pre-cobbler saute to soften them. I will share my results when the time comes!

Monday, July 28, 2014

Cajeta (Goat's Milk Caramel)

Cajeta is the first thing I ever made with my goat milk. To be fair, the list of things I've made so far with it is short -- ice cream, butter, cajeta, and as of yesterday, yogurt -- but cajeta is the. bomb. And it's a great recipe to start with because it's not as intimidating as say, cheese...which I have still not been brave enough to try (but will soon...I promise).

I love caramel. If you ask me, "chocolate or vanilla?" I will answer, "caramel." It's the perfect blend of salty and sweet, flavorful but not overwhelming, creamy and dreamy and yeah...caramel is good. Homemade caramel sauce made from fresh goat milk and infused with cinnamon sticks? Heaven in a jar. 

Cajeta is actually a traditional Mexican food and is sometimes referred to as dulce de leche. However, traditional cajeta is always made with goat milk, while dulce de leche can be made with other milks or a mix of cow and goat milk.

Cajeta makes a wonderful ice cream topping, or it can be used to glaze cakes or dip fruit. It would be fantastic in a caramel apple pie. I keep meaning to cook mine down to a thick enough consistency to make a caramel apple. Mmm, the perfect fall treat. I've also wondered how awesome of a coffee creamer it would make if left thinner...but I don't drink coffee!

Now, let's get to the important part, which is how to make it!

Cajeta (makes about 1 pint)

You will need:

1 quart fresh goat milk
1 cup sugar
1/2 teaspoon baking soda
2 teaspoons vanilla extract
Dash of salt
1-2 cinnamon sticks (optional, but highly recommended)
Medium sauce pan (mixture will foam so be sure your pan is large enough)
Spoon/spatula
Funnel
Pint jar and lid

Stir together your milk and sugar, then add vanilla extract, salt, and cinnamon sticks. Heat on medium heat stirring constantly. Milk is very heat-sensitive and will scorch quickly if left unattended.

As soon as your milk reaches a boil, remove from heat and stir in the baking soda. The mixture will start to foam. Then return it to the burner and bring back to a simmer.

Post-baking soda foaming
At this point, a lot of waiting is involved. You need to continue stirring it every few minutes, being sure to scrape the bottom and sides (as best you can -- some will inevitably make a sticky mess on the sides of the pan). This stage is basically just babysitting it to be sure it doesn't burn, stop simmering, or get to too high of a boil. Adjust the heat as necessary. It can take anywhere from 1-2 hours to reach the next stage.

Because it takes so long to cook down, I like to start my cajeta just before beginning another project that will keep me busy in the kitchen. This last time, I got my cajeta going and then started a couple of batches of yogurt. You could also use this time to bake a cake, cook a meal, etc. Just be sure it's something that you can leave for a moment every 10 minutes or so just to stir the cajeta.
The cajeta is getting darker and starting to foam a little again.
It's also reduced by about half.
Eventually you will notice the mixture start to darken. This is your cue to take out the cinnamon sticks before things get too sticky! It's also time to start watching it more closely. It will start to foam again as it nears readiness, too, which is another sign you're getting close. It can cook down fairly quickly at this point.

The cajeta is ready to be poured into the jar when it's a nice caramel color and at least thick enough to coat the back of your spoon. Thickness is really a personal preference -- I've read of people actually cooking it down to candy consistency -- but you probably don't want it thinner than that or it will essentially be sweetened condensed milk, not caramel. The cajeta will be much thinner while hot than it will be after it cools in the fridge, so check the consistency by dribbling a bit on a plate and letting it cool.

Once it reaches the consistency you want, use a funnel to pour it into your jar, and stick it in the fridge to cool. It should be cooled enough to top your ice cream in a few hours, or overnight. And don't forget to lick the spoon!

Ice cream is a totally acceptable breakfast when topped with fresh cajeta!
Cheers!

Monday, May 26, 2014

Dehydrated Honeysuckle and Homemade Ice Cream

Happy Memorial Day, everyone! I must begin by saying thank you to all those who serve or have served and their families. Thank you for your sacrifices!

We accomplished much this weekend. A new area of pasture is nearly fenced in for the goats and the horse (with the bonus effect of keeping the chickens out of our garden). I have to give all credit for this one to my parents. I was out long enough to hold a post for a few seconds and take some pictures, but then I had to call it quits.

Be sure to enlist the help of your trusty canine companions when fencing.
Why, you ask? I was stung by a bee the day before yesterday. I had finished putting up the milk and was back down at the barn when a bee stung the inside of my ankle for seemingly no reason. It left behind its stinger (which was a first for me) so I hobbled quickly to the house. Being the big baby that I am, I found my mom and said, "I need you to get the stinger out of my leg!" I don't think we fully succeeded. Mom finally got the venom sac off, and I removed part of the stinger, but I believe a small amount stayed embedded. I guess my body will expel it like a splinter, or perhaps my ankle will never be useful again. We'll see.

I saw some blackberry action while I was hobbling around outside.
I thought that maybe the sting wouldn't be so bad. It appeared to be a normal welt the first day. Yesterday, however, my ankle swelled almost double the size of my other ankle and became painful, particularly when walking or standing. So there was no fencing help to be had from me. As I type this, my ankle looks like a pregnant woman's who has been eating straight salt. But I always try to remind myself in frustrating situations like these, "if this is the worst thing you have to deal with today, you're one of the lucky ones." And it's true.

This little patch of garden is coming along nicely as well.
I managed, pre-sting, to collect a fair amount of honeysuckle blossoms (though not as many as I needed) for dehydrating.


I have a couple of projects in mind if I can collect enough blossoms before the vines stop blooming. Honeysuckle has long been a favorite of mine. Smelling it on the breeze is one of the best parts of summer. Unfortunately, the dehydrated flowers don't seem to have much of a smell, but they retained their color beautifully.


If you try this at home, be aware that the blossoms are very delicate. It takes a very short time in the dehydrator for them to be done. Also cut off the little green nibs at the bottom of the blossom before dehydrating.


I also made homemade ice cream in our new ice-less ice cream machine. Neither rain nor sleet nor sting of bee shall keep me from my ice cream! I adapted a simple recipe from Deborah Niemann of Antiquity Oaks. Her original recipe calls for one quart of Nigerian Dwarf milk, 2/3 cup pure maple syrup, and four egg yolks. I don't have enough ND milk on hand, so I subbed our raw cows milk (which we buy - no cows here...yet), and I also added the scrapings from the inside of a vanilla bean and a dash of our homemade vodka vanilla extract.


Nigerian Dwarf milk is super high in butterfat. Their average is 6-7% butterfat. Compare that to an average of 3-4% for standard dairy goats, 4.9% for Jersey cows, and 2.5-3.6% for Holsteins. With this in mind, in the future I would replace a portion of milk with straight cream when making the recipe with cow's milk, just to achieve that smoother, creamier texture. I also found that I added a bit too much vanilla, giving it an "artificial" flavor -- even though there is nothing artificial about it! I will also change my technique. Deborah's original recipe calls for simply whisking everything together and bringing to a boil, but I found that some of my yolks curdled and I had to strain the mixture before chilling. That might have been because I used refrigerated eggs; most of the time, those of us with chickens don't bother to refrigerate our eggs unless they're being sold.


Here's the modified recipe:

1 quart milk, Nigerian Dwarf preferred -- consider substituting some milk with cream when making it with other types of milk
2/3 cup pure maple syrup (go for grade B for the best nutritional value!)
4 egg yolks
Pinch of salt (I prefer Himalayan Pink or Celtic)
Scrapings of one vanilla bean, if desired

Combine milk, vanilla bean, and maple syrup in saucepan on stove and heat slowly. Don't allow it to boil yet. Temper your egg yolks by adding a small amount of the warmed mixture to them and stirring thoroughly. Slowly whisk yolks into main mixture and then bring slowly to boil, stirring frequently and not allowing to stick. When cool, pour off through a strainer and chill for at least a few hours (this will keep your ice cream barrel colder longer. If you use an ice and rock salt mixer, you may omit this step in a pinch, but it will take longer to become ice cream nonetheless). Follow your ice cream maker's instructions for preparing. I prefer to stick my finished ice cream in the freezer to allow it to thicken even more before eating.

The ice cream will taste like maple syrup - which is a good thing if you asked me! - but you can substitute other sweeteners if you're not a fan. Honey would be another natural option, but would have a milder flavor. You can experiment with toppings and add-ins. I plan to swap out the maple syrup for honey and infuse a cinnamon stick into the base next time I make it...and maybe the time after that I will pour in homemade cajeta as it mixes. Yum. :)

Sunday, July 14, 2013

Blackberries in Framboise

Those who follow me on facebook got a sneak peek at the end result of my first canning foray this year. I've  been canning -- or assisting in canning -- since a very young age. I can remember being in the kitchen as my grandmother and mother put up muscadine jelly before I was even tall enough to see into the pot...but I still got to lick the spoon. ;)

But as much as I love jam and jelly making, I wanted to try something I hadn't done yet this year. So I bought the newest edition of the Ball Company canning guide and sniffed out a recipe. That's how my mother and I ended up going to three different wine and liquor stores to find Framboise for these blackberries. When we finally got back from that and other shopping, it was already well into the evening, and it ended up being well after midnight before we were done canning.

But it was so worth it.

If you enjoy putting up preserves, you have to try this recipe. The tartness of the blackberries pairs perfectly the sweetness of the raspberry liqueur, and the nutmeg and cinnamon adds another depth of unexpected flavor. It's perfect over ice cream or in kefir or yogurt. It would also be the perfect match for a lemon pound cake.

It's a very simple recipe with few ingredients. Just blackberries (more in the stainless bowl), lemon peel, nutmeg, cinnamon stick, sugar, water, and the Framboise. (Ignore the olive oil bottle in the background.)


The first step is juice one pint of blackberries, which is very simple. You just heat the blackberries until they are all hot and soft, then press them in a sieve or cheese cloth.


The end result is a beautiful purple juice.


Next is making an infused simple syrup with the cinnamon stick, fresh ground nutmeg, grated lemon peel, and sugar; then you strain it to remove the cinnamon. Your kitchen is going to smell so good during this step.


Next everything is added back into the pot: the simple syrup, remaining blackberries, reserved juice, and the Framboise. It is then brought to a boil and put into the jars to be water-bathed.


The end result is 3-4 half-pints of blackberries (we got three, but I packed them very full) and a lot of leftover liquid. I was unwilling to just waste the remaining sauce, so I jarred it up and processed it as well. In the end I had three half-pints of berries and four of liquid. In the future, I will probably pack my berries looser.


I enjoyed a bit of the sauce over ice cream before canning the rest of my berries (which I just put up as for baking). It is so yummy. 

It is a bit pricey due to the expense of the Framboise, but I believe at least two batches could be gotten out of one bottle. Alternatively, the left over  Framboise could be used in mixed drinks as well. Either way, I think the berries are yummy enough to warrant a little extra expense. :)


Next spring the first thing I will be making with my goats' milk is fresh homemade ice cream, and you can guess what I'll be topping it with!

Blackberries in Framboise 

3 pints blackberries
2 cups sugar
1 stick cinnamon, broken
1 tablespoon grated lemon peel
1/2 teaspoon freshly grated nutmeg
2 cups water
1/2 cup Framboise, or other raspberry brandy
Extract juice from 1 pint blackberries. Measure 1/2 cup juice; set aside.
Combine sugar, cinnamon stick, lemon peel, nutmeg, and water in a large saucepot. Bring to a boil. Reduce heat and simmer 5 minutes.
Strain syrup; return to saucepot.
Add blackberry juice, remaining blackberries, and raspberry brandy; bring to a boil.
Pack hot blackberries into hot jars, leaving 1/2 inch headspace.
Ladle hot syrup over blackberries, leaving 1/2 inch headspace. Remove air bubbles.
Adjust two piece caps. Process 10 minutes in a boiling-water canner.
Recipe from the Ball Blue Book Guide to Preserving, 2013 edition. I highly recommend the Ball Blue Books to home canners, new and experienced alike.